How to optimize WordPress performance using WP Fastest Cache
Caching is essential for optimising a WordPress site, but managing caching can be difficult. Caching is recommended by performance grading tools, such as Google's Page Speed, to improve website performance; however, caching plugins are frequently complex. Unlike other complex cache management plugins, WP Fastest Cache is much easier to use and has a more user-friendly interface for managing the WordPress cache. This article will show you how to install and configure the WP Fastest Cache plugin on your WordPress-powered website.
What is WP Fastest Cache plugin?
WP Fastest Cache plugin allows you to improve the performance of your website, improving loading speed times and includes the following key features:
- Mod_Rewrite which is the fastest method is used in this plugin
- All cache files are deleted when a post or page is published
- Admin can delete all cached files from the options page
- Admin can delete minified css and js files from the options page
- Block cache for specific page or post with Short Code
- Cache Timeout – All cached files are deleted at the determinated time
- Cache Timeout for specific pages
- Enable/Disable cache option for mobile devices
- Enable/Disable cache option for logged-in users
- SSL support
- CDN support
Installing and configuring WP Fastest Cache Plugin
To install and configure WP Fastest Cache Plugin, follow these steps:
- Log in to your WordPress site with an administrator account.
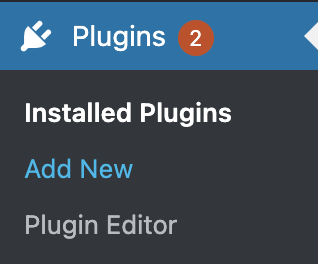
- On the Dashboard in the left sidebar, click Plugins, and then click Add New:
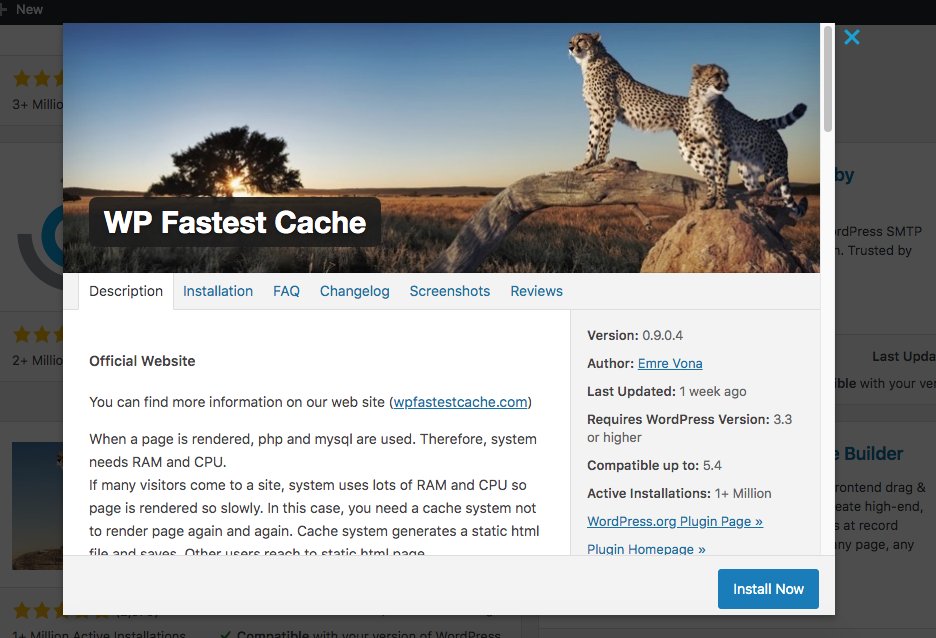
Search for “WP Fastest Cache” click Install, and then click Activate the plugin:
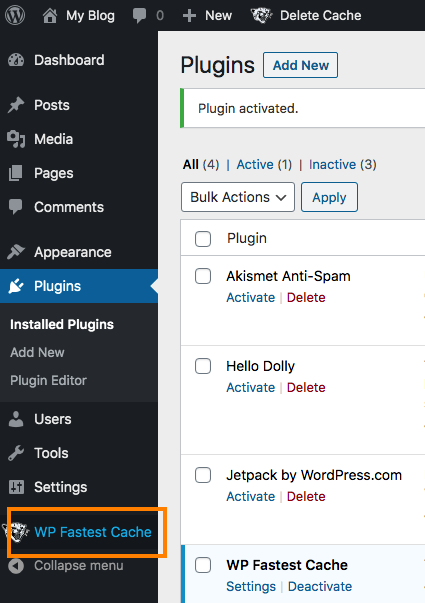
On the Dashboard in the left sidebar, click on WP Fastest Cache:
Click on the checkbox next to Enable in the Settings tab:
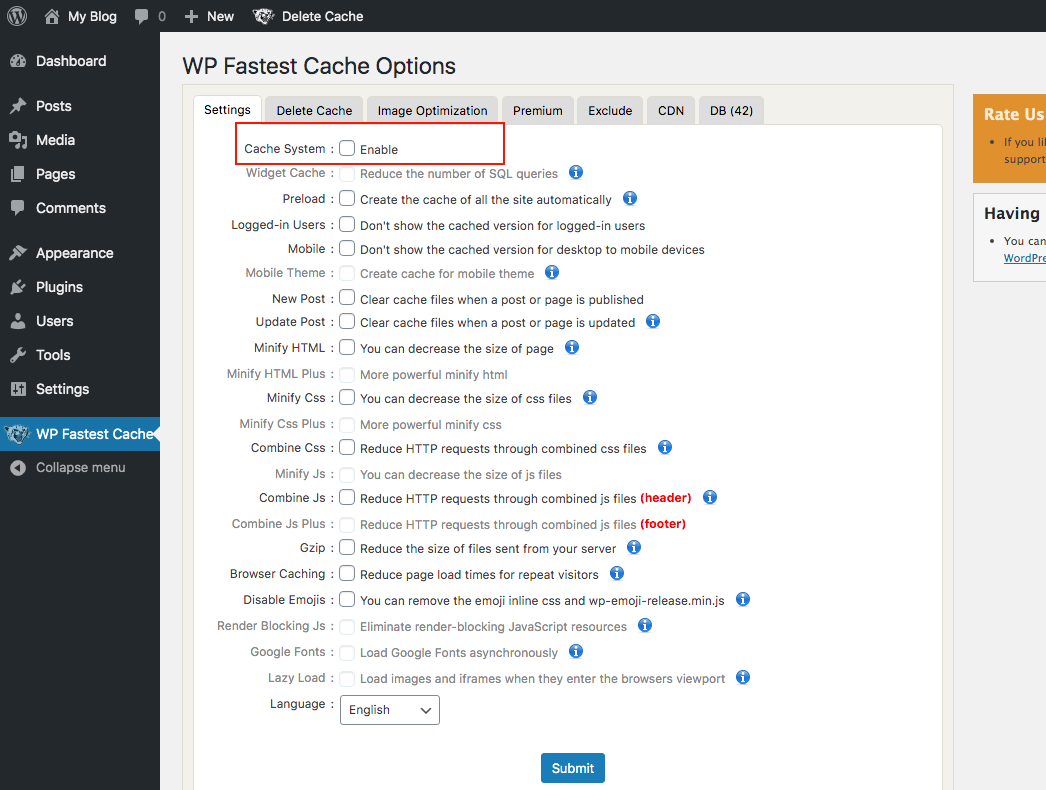
Choose any other options you would like to set to further optimize your WordPress site. Recommended options to enable include:
- Minify HTML
- Minify CSS
- Gzip
- Browser Caching
- Grayed options and image optimizations are only available for are only available for premium versions
- Click on the Submit button to enable the Cache Settings. A confirmation dialog box will appear to confirm the changes. Reload the WordPress site and test the difference in page loading speed.
More Information
For more information about the WP Fastest Cache Plugin, please visit: https://wordpress.org/plugins/wp-fastest-cache/
Article Details
- Product: All accounts
- Level: Beginner
Grow Your Web Business
Subscribe to receive weekly cutting edge tips, strategies, and news you need to grow your web business.
No charge. Unsubscribe anytime.
Did you find this article helpful? Then you'll love our support. Experience the A2 Hosting difference today and get a pre-secured, pre-optimized website. Check out our web hosting plans today.