How to implement Google Authentication for WordPress
Another way to prevent brute force login is to use a time-limited random security code provided by apps such as the Google authenticator, which acts as an additional layer of security to confirm a legitimate user. The Google Authenticator plugin for WordPress allows you to use the Google Authenticator app for Android/iPhone/Blackberry to perform two-factor authentication. This article explains how to install and configure the Google Authenticator plugin for WordPress as a two-factor authentication method.
Installing Google Authenticator plugin
To install and configure Google Authenticator plugin, follow these steps:
- Log in to your WordPress site with an administrator account.
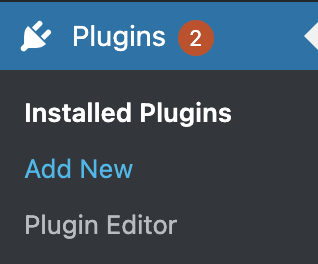
- On the Dashboard in the left sidebar, click Plugins, and then click Add New:
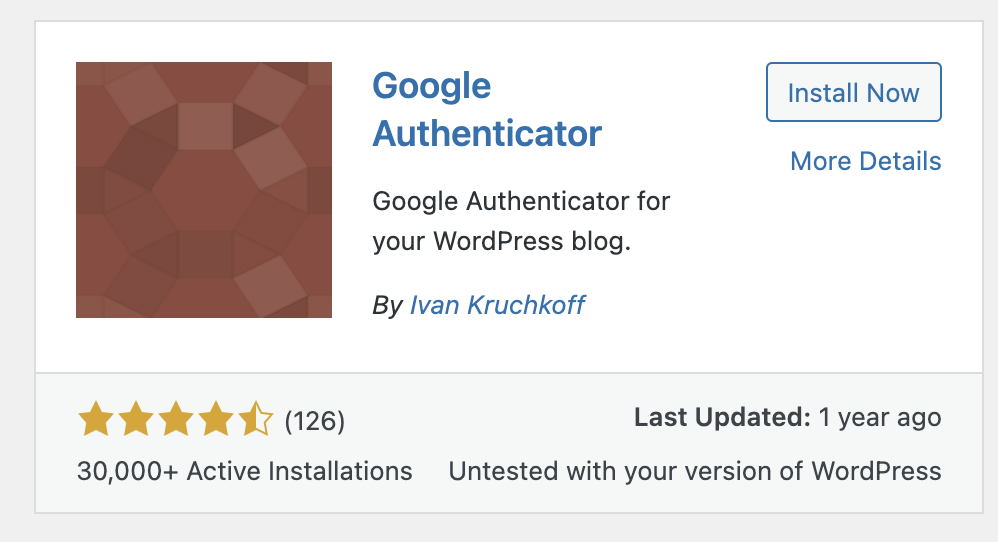
Search for “Google Authentication” click Install, and then click Activate to activate the plugin:
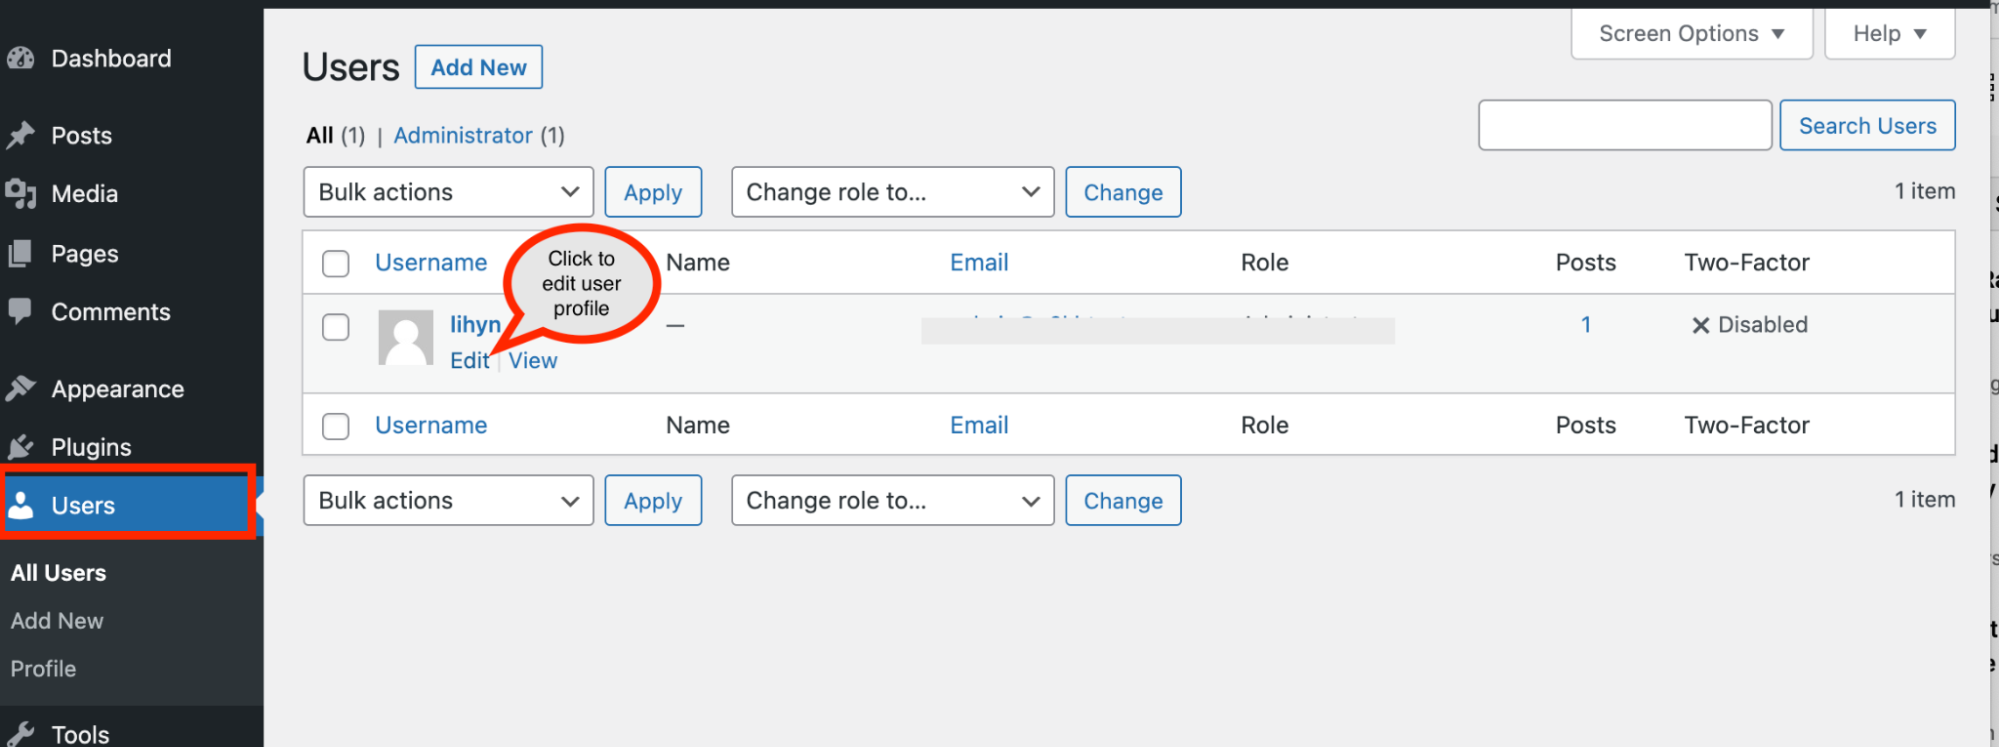
On the Dashboard in the left sidebar, on the admin user profile click Edit to set set up the Google Authentication for the site:
Scroll down to the Google Authenticator Settings on the profile page :
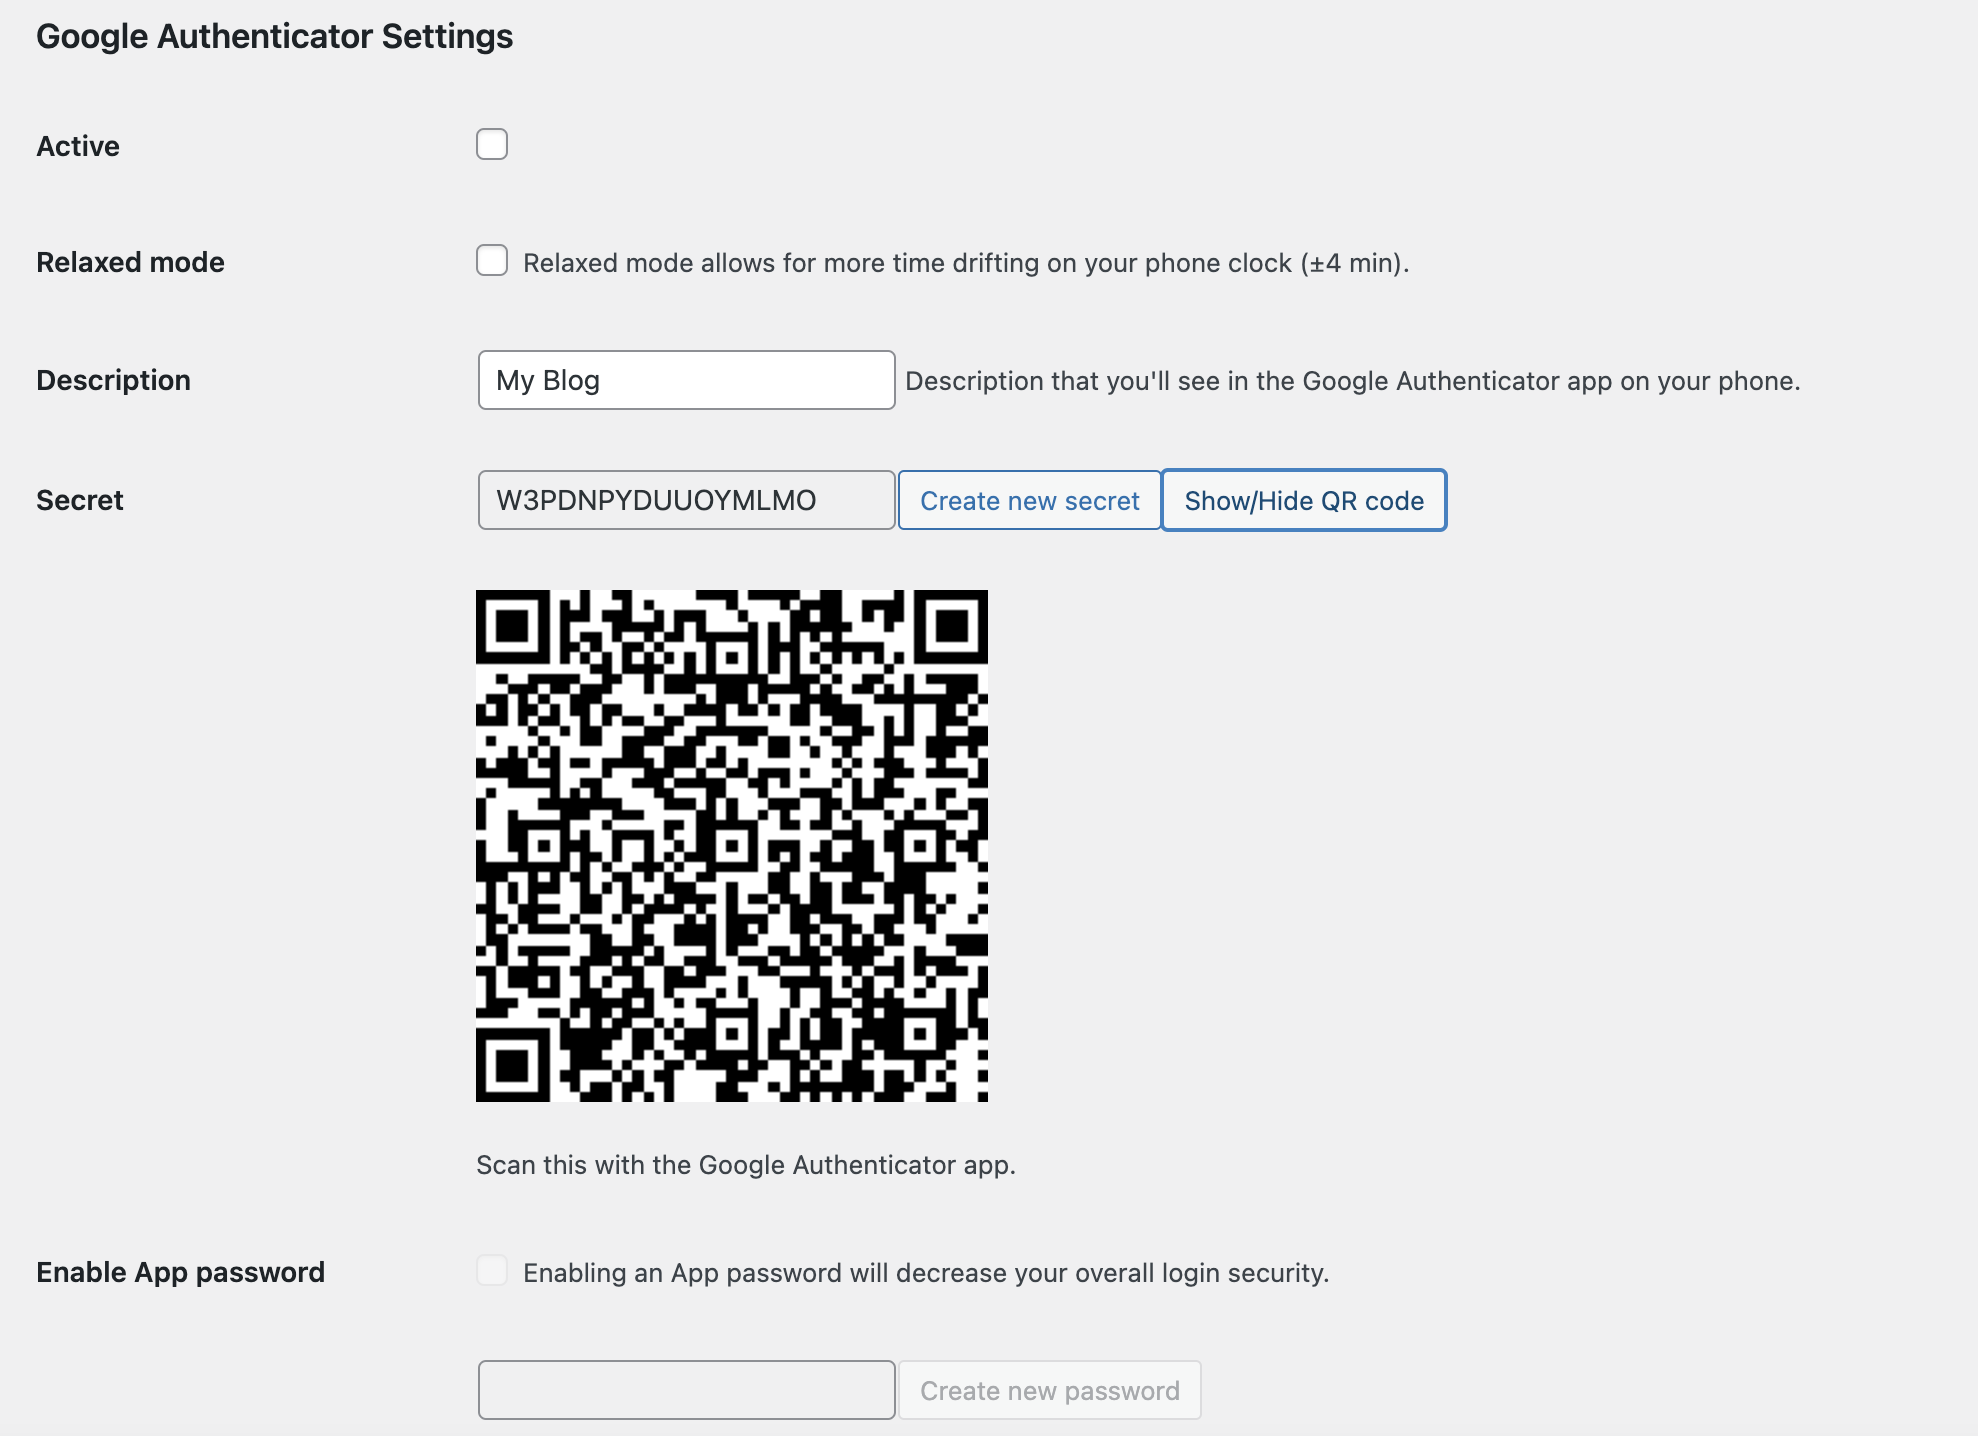
- Active – Check this box after the entire setup, this will activate the Google Authenticator for your site.
- Relaxed Mode – Google authenticator code expires every minute, using the relaxed mode will allow you to use one code for upto 4 minutes.
- Description and Secret Key – The description refers to the account name in the Google Authenticator app. The secret key is needed if the QR code is not used. Note: iPhone does not accept space for description.
- Enable App Password – Only use this option if the WordPress site uses XML-RPC (remote publishing).
- Check the Active option, fill in the description and then click Update User to save the settings.
Configuring a new account on iPhone App Google Authenticator
- Click on the Google Authenticator app icon and then click on the + icon to add a new account.
- Scan the QR code or enter the secret key from the Google Authenticator Settings from the WordPress admin profile page:
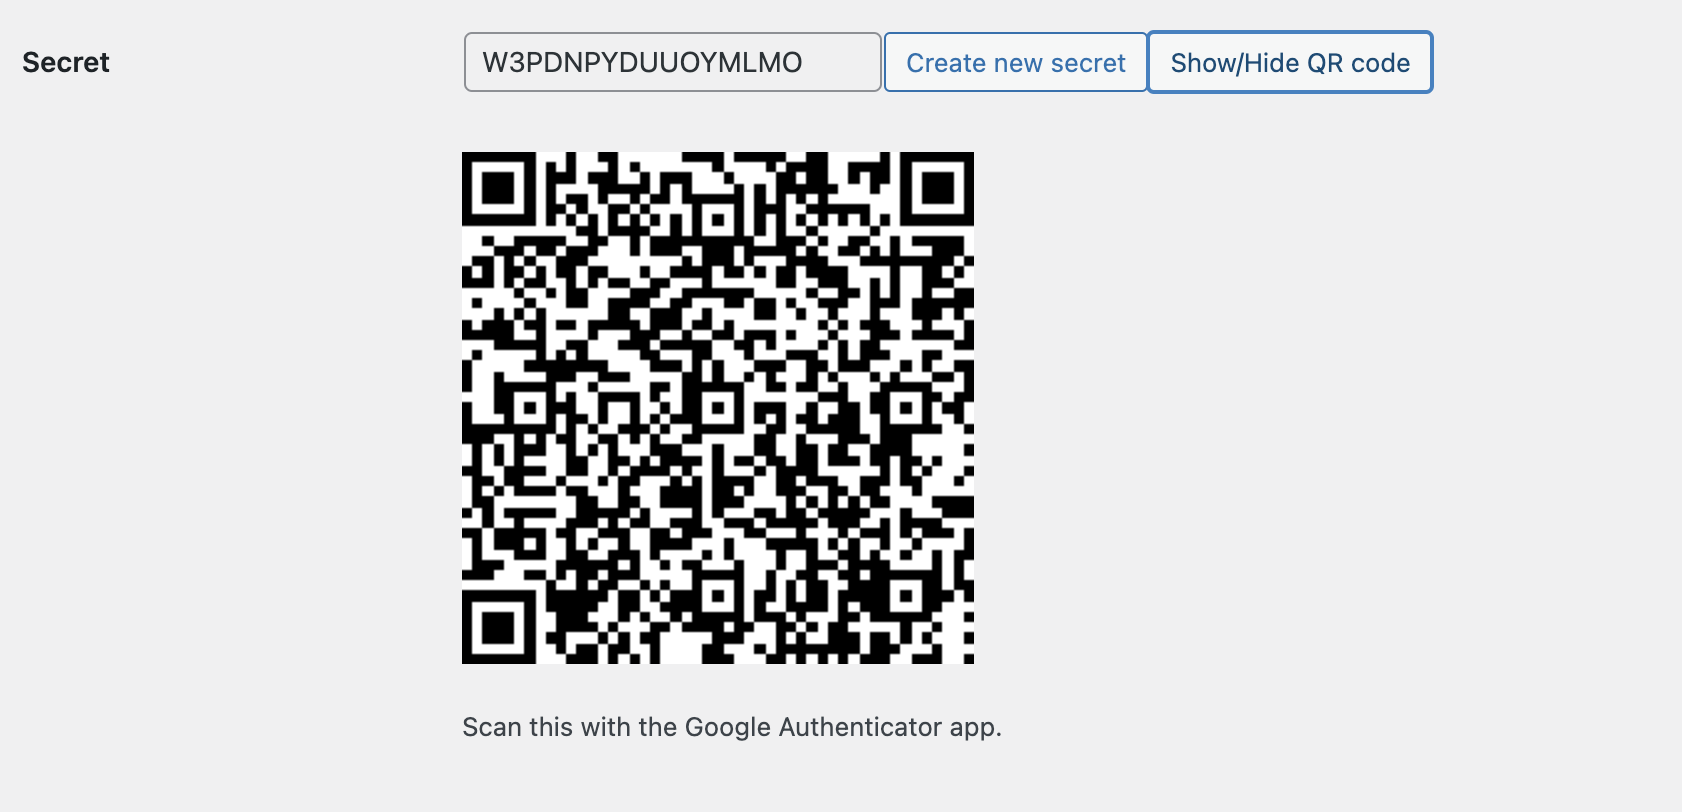 If you do not see the QR code, click Click Show QR code in WordPress to see the QR code.
 - The WordPress description will appear in the Google Authenticator once the secret code or barcode is provided. A random string of 6 digits will be displayed with a 1 minute counter next to it.
- A two-step verification field will be displayed on the login screen that asks for Google Authenticator code upon successful configuration.
More Information
For more information about the Google Authenticator, please visit: https://wordpress.org/plugins/google-authenticator/
Article Details
- Product: All managed hosting accounts using cPanel
- Level: Beginner
Grow Your Web Business
Subscribe to receive weekly cutting edge tips, strategies, and news you need to grow your web business.
No charge. Unsubscribe anytime.
Did you find this article helpful? Then you'll love our support. Experience the A2 Hosting difference today and get a pre-secured, pre-optimized website. Check out our web hosting plans today.