How to add an online guestbook on WordPress
A guest book allows users to leave general comments and thoughts about your site. It's a neat way to interact and know your site visitors. If you are just about to launch a new WordPress site and announce its arrival, then an online guestbook is a great way to collate information of your launch page visitors. This article shows you how to add a guestbook to your WordPress site using the Gwolle Guestbook plugin.
What is Gwolle Guestbook plugin
Gwolle Guestbook plugin is an online guestbook that allows users to leave comments on your website. It is easy to install and configure and has excellent features like:
- Easy to use guestbook frontend with a simple form for visitors of your website.
- List of guestbook entries at the frontend with pagination or infinite scroll.
- Widget to display an excerpt of your last or your best entries.
- Simple admin interface that integrates seamlessly into WordPress admin.
- Dashboard Widget to efficiently manage the latest entries from your Admin Dashboard.
Install and configure Gwolle Guestbook plugin
To install and configure Gwolle Guestbook plugin, follow these steps:
- Log in to your WordPress site with an administrator account.
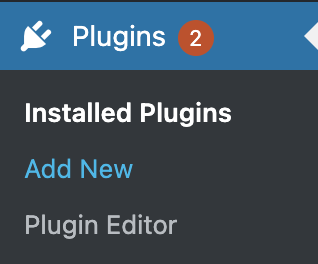
- On the Dashboard in the left sidebar, click Plugins, and then click Add New:
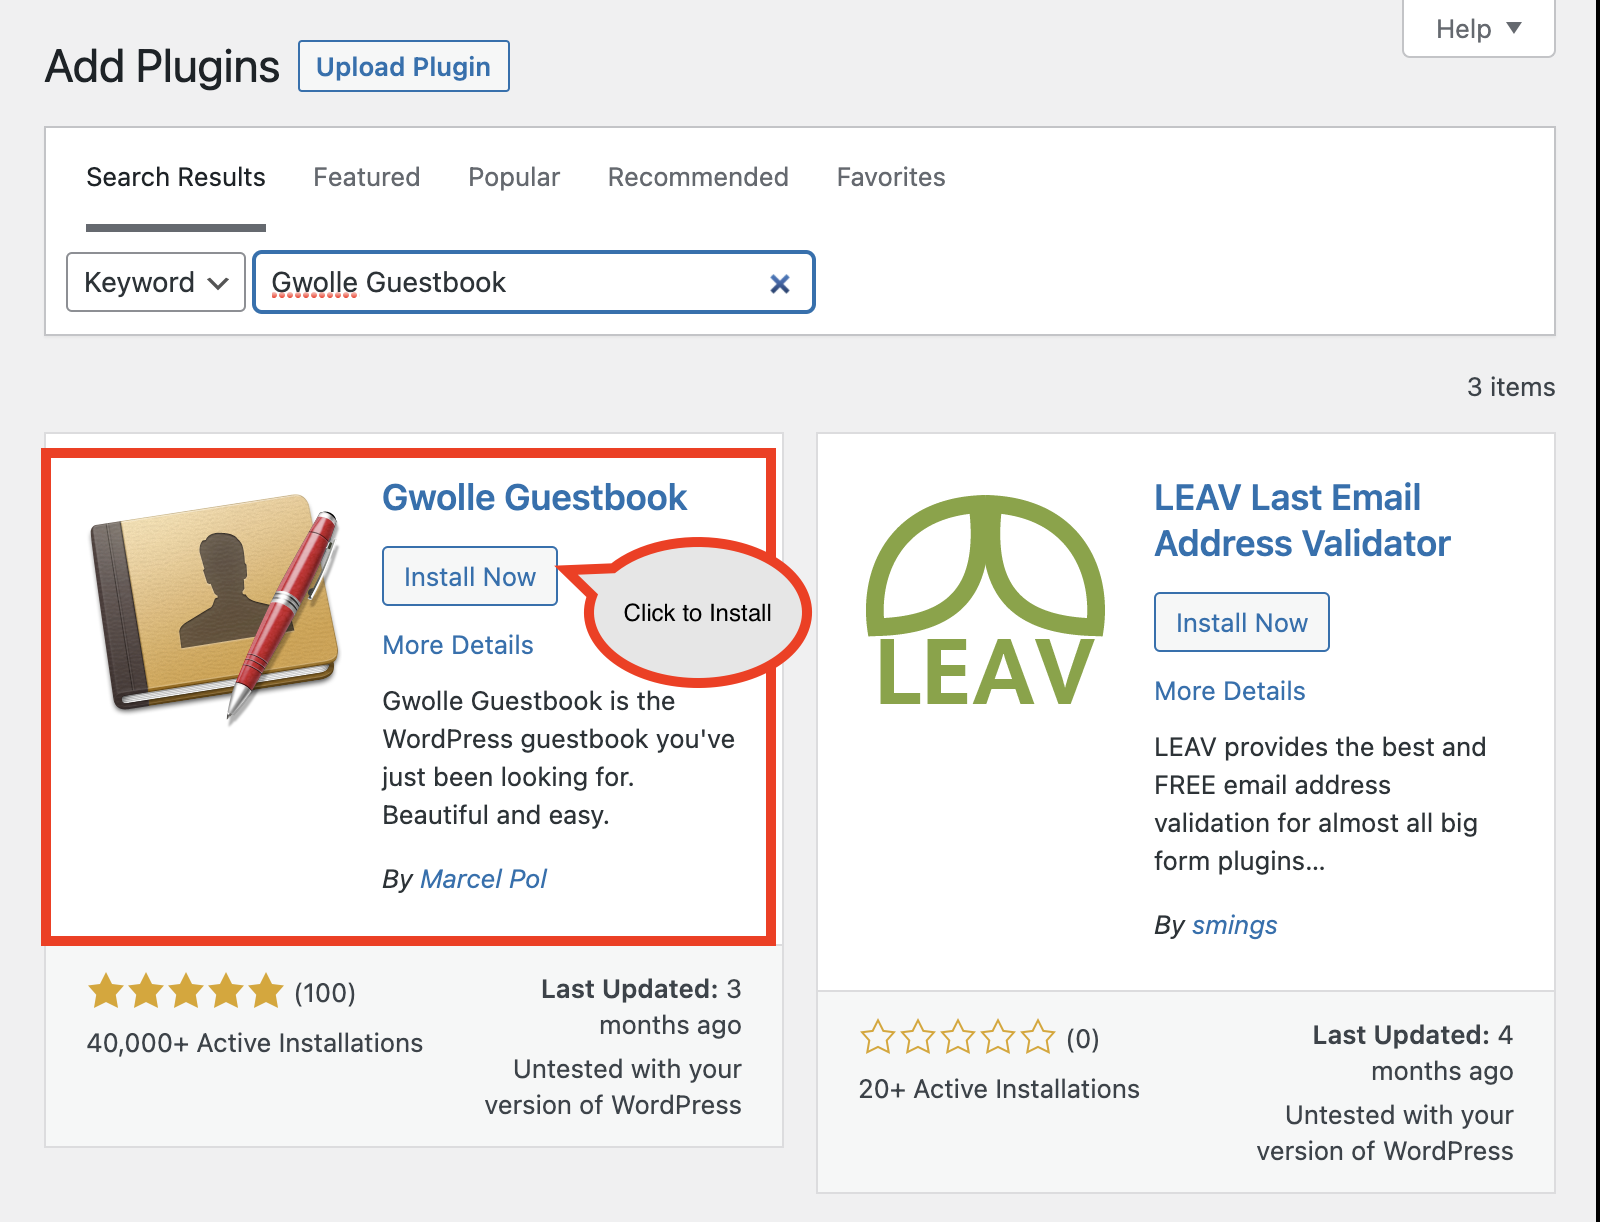
Search for “Gwolle Guestbook”, click Install, and then click Activate the plugin:
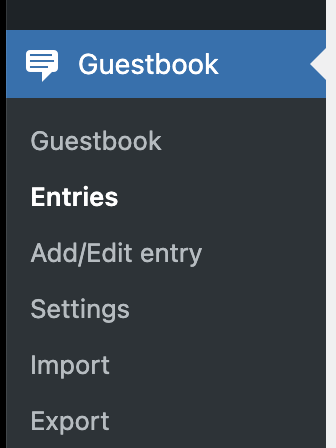
Click on Guestbook on the sidebar of the Dashboard:

- Use the control on the Gwolle Guestbook to control the plugin settings, approve comments, delete, edit, import, export and other options.
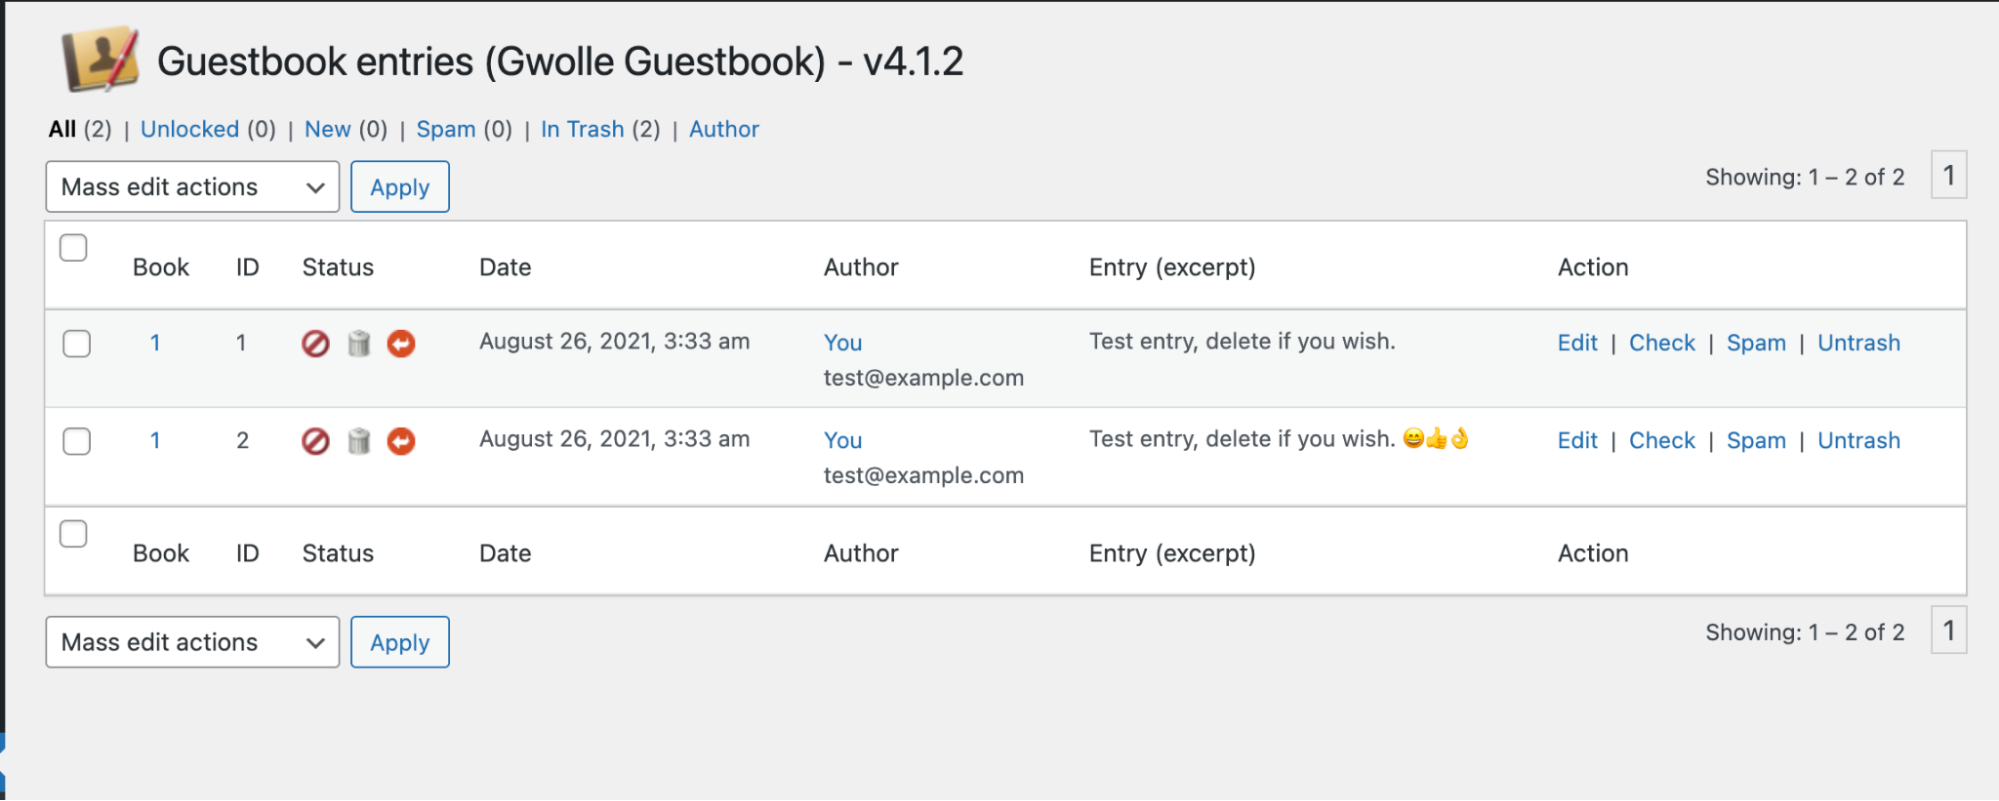
Click on Guestbook, and then click on Settings. Next click on the Debug tab. Click on the Run test button. to test This test will attempt to save two test entries, one with standard text and one with Emoji:
Adding a Guestbook on a WordPress page or post
To add the Guestbook form on a page or a post, follow these steps:
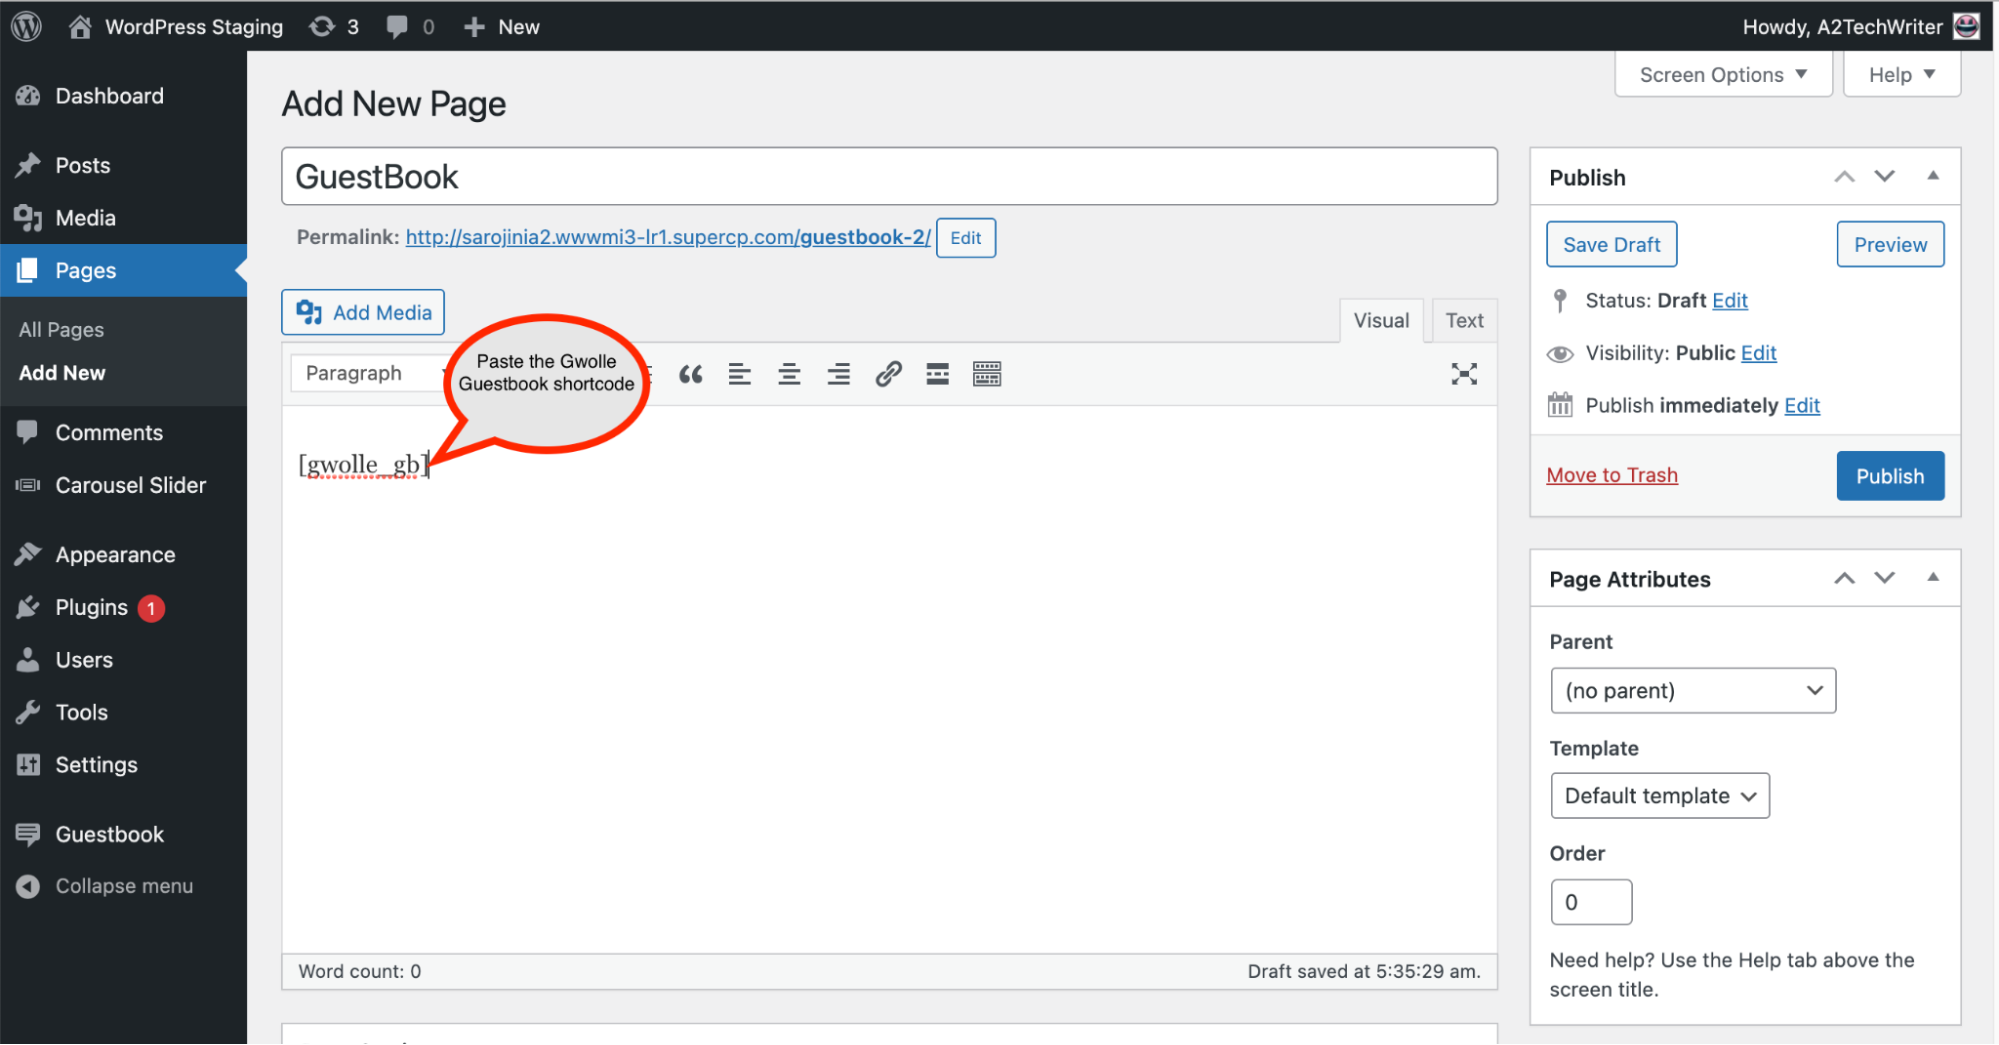
- On the Dashboard in the left sidebar, click on pages, and then click Add New to add a new page. Copy the following shortcode and paste in the content section of the page.
[gwolle_gb]
The Write a new entry button is displayed on the page:
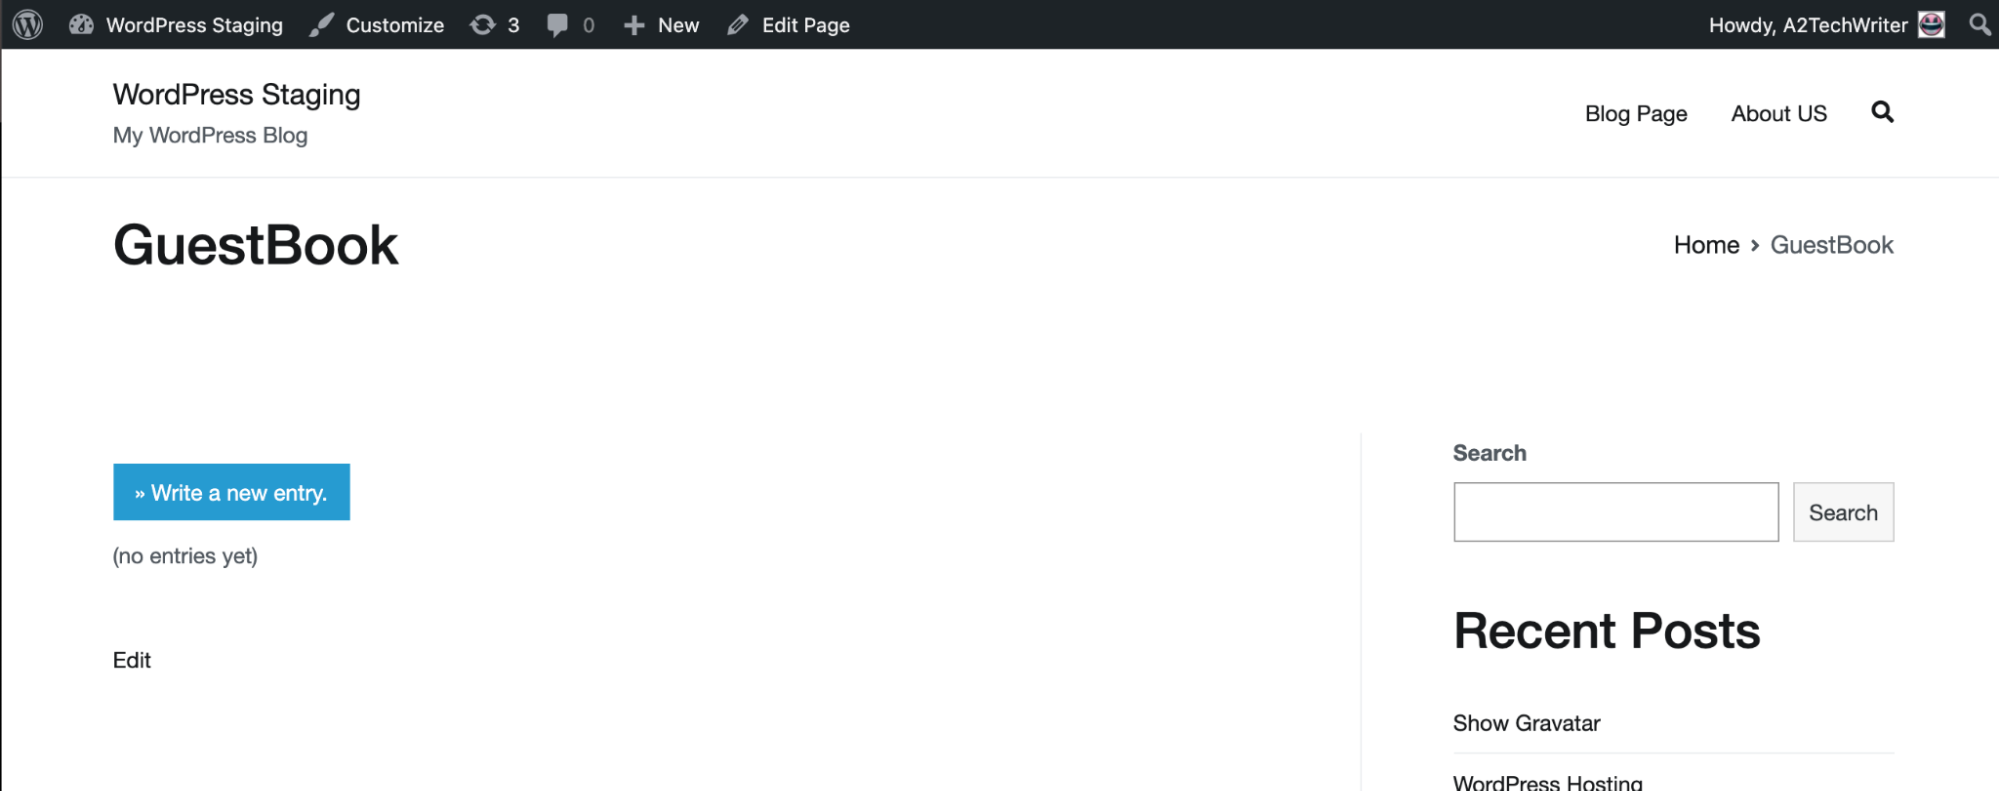
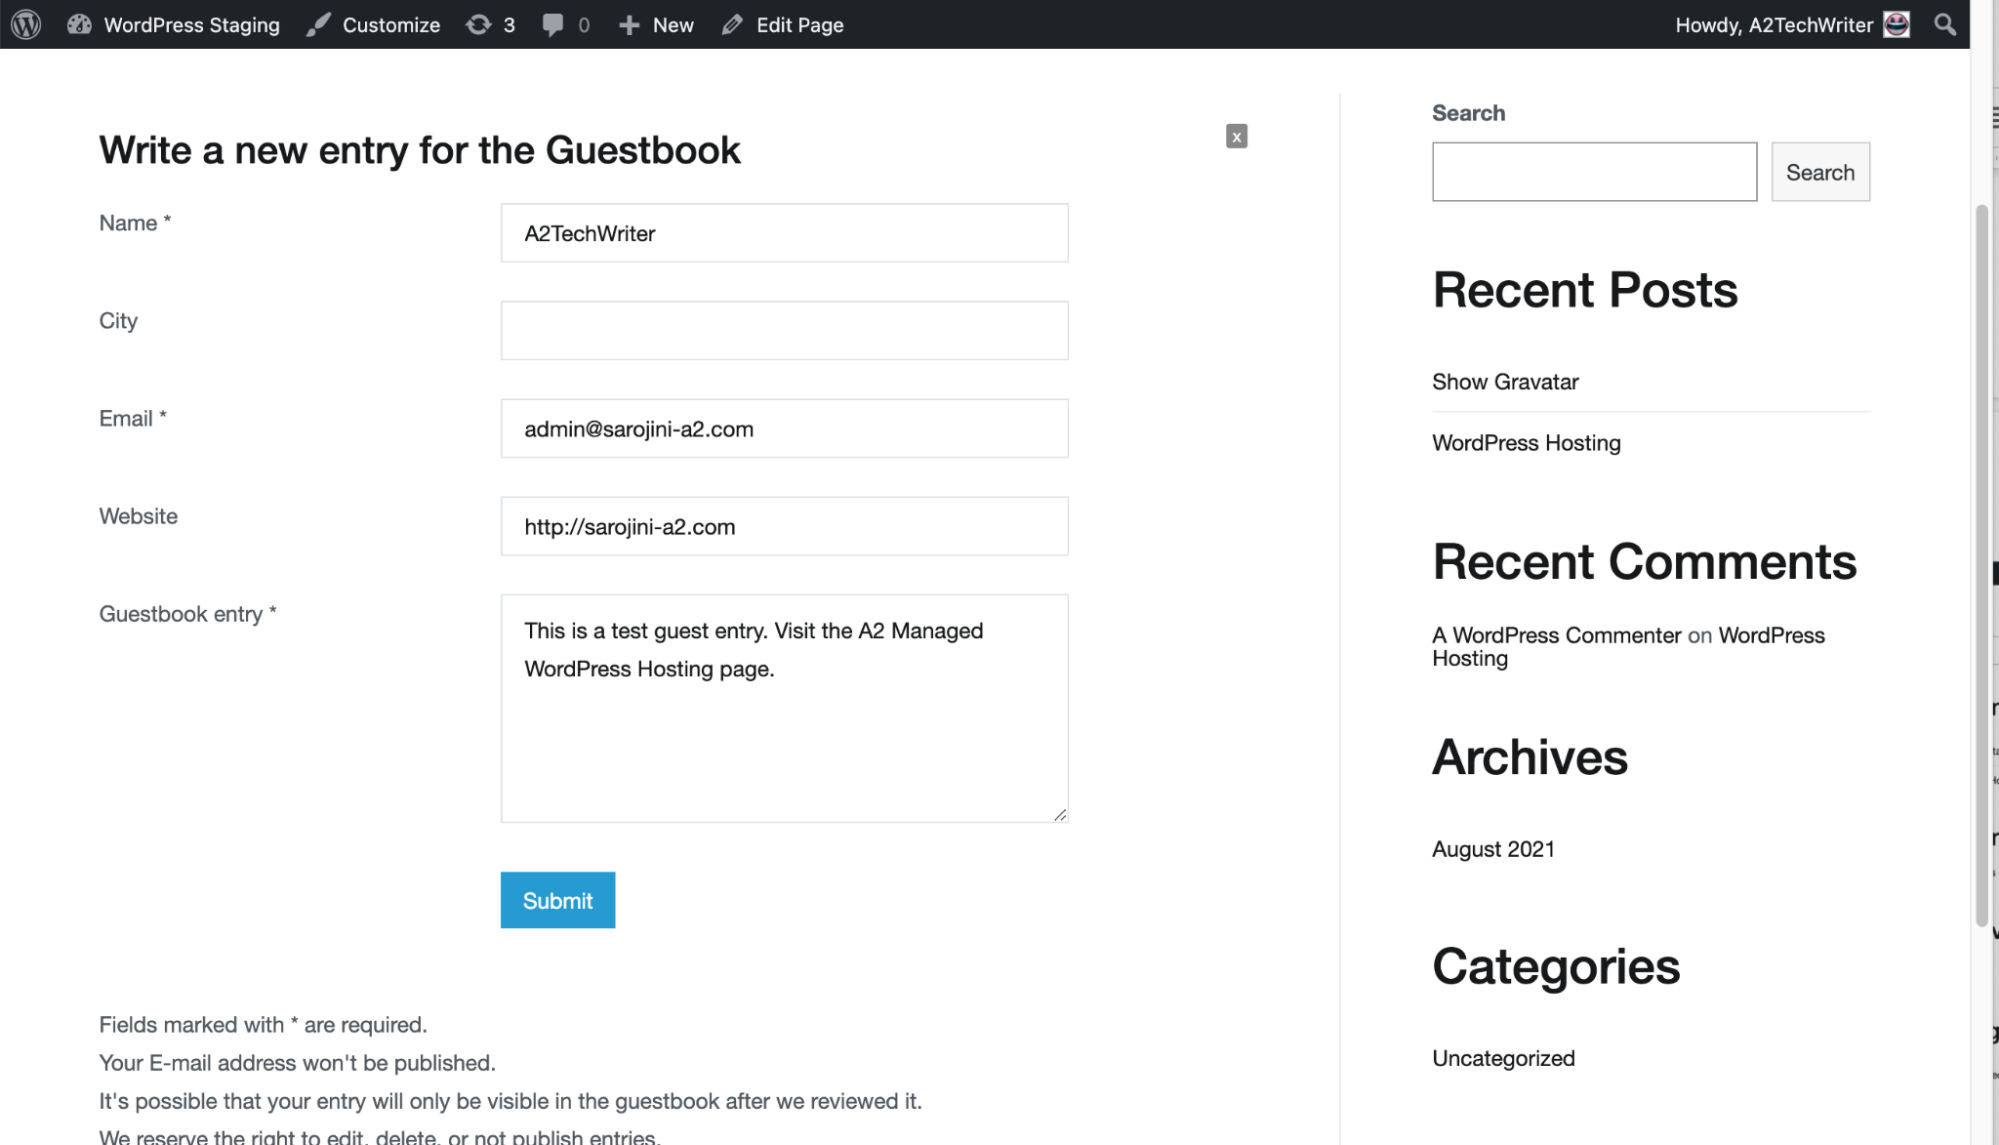
Click on the Write a new entry button to view the Guestbook form. Complete the Guestbook entry and click on the submit button:
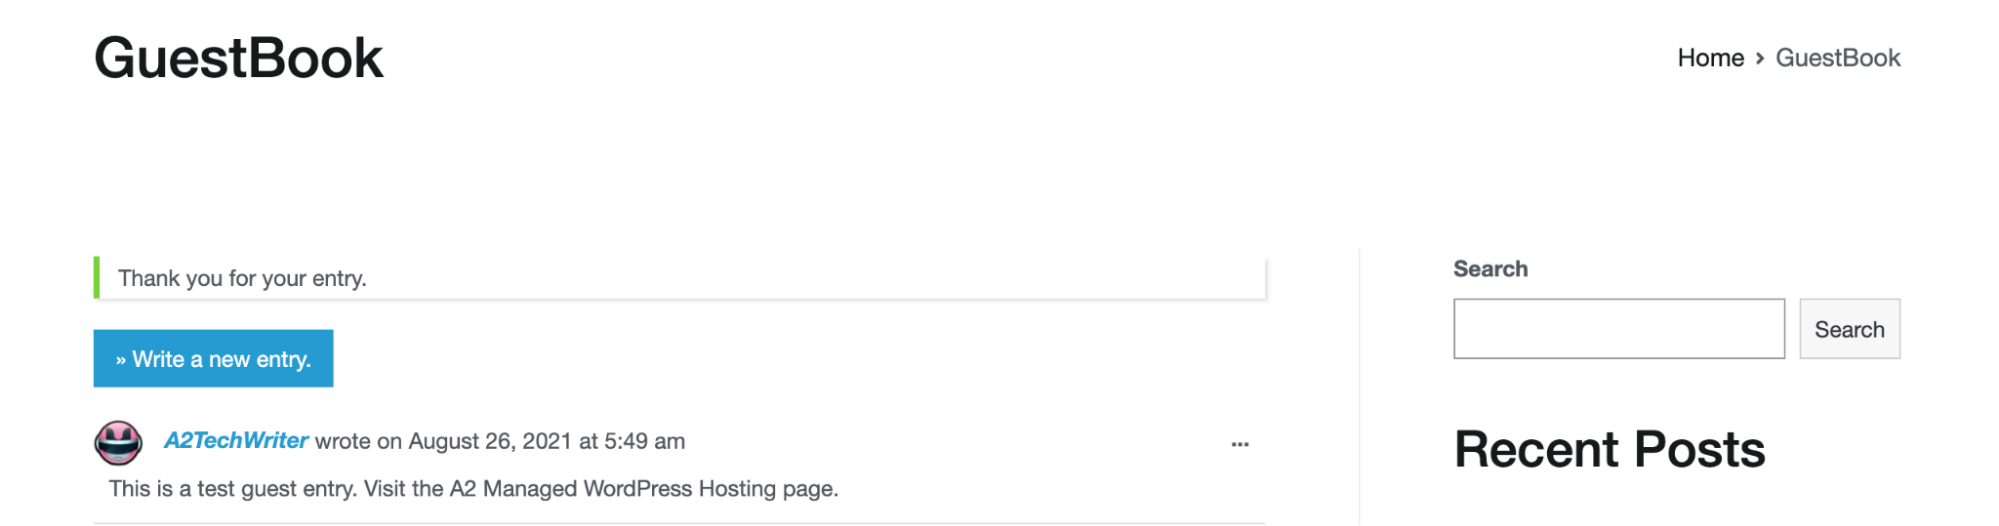
The entry details is displayed at the bottom of the page:
 To customise the Guestbook form , click on the Settings under Guestbook. Make adjustments to the form fields on the Form tab:
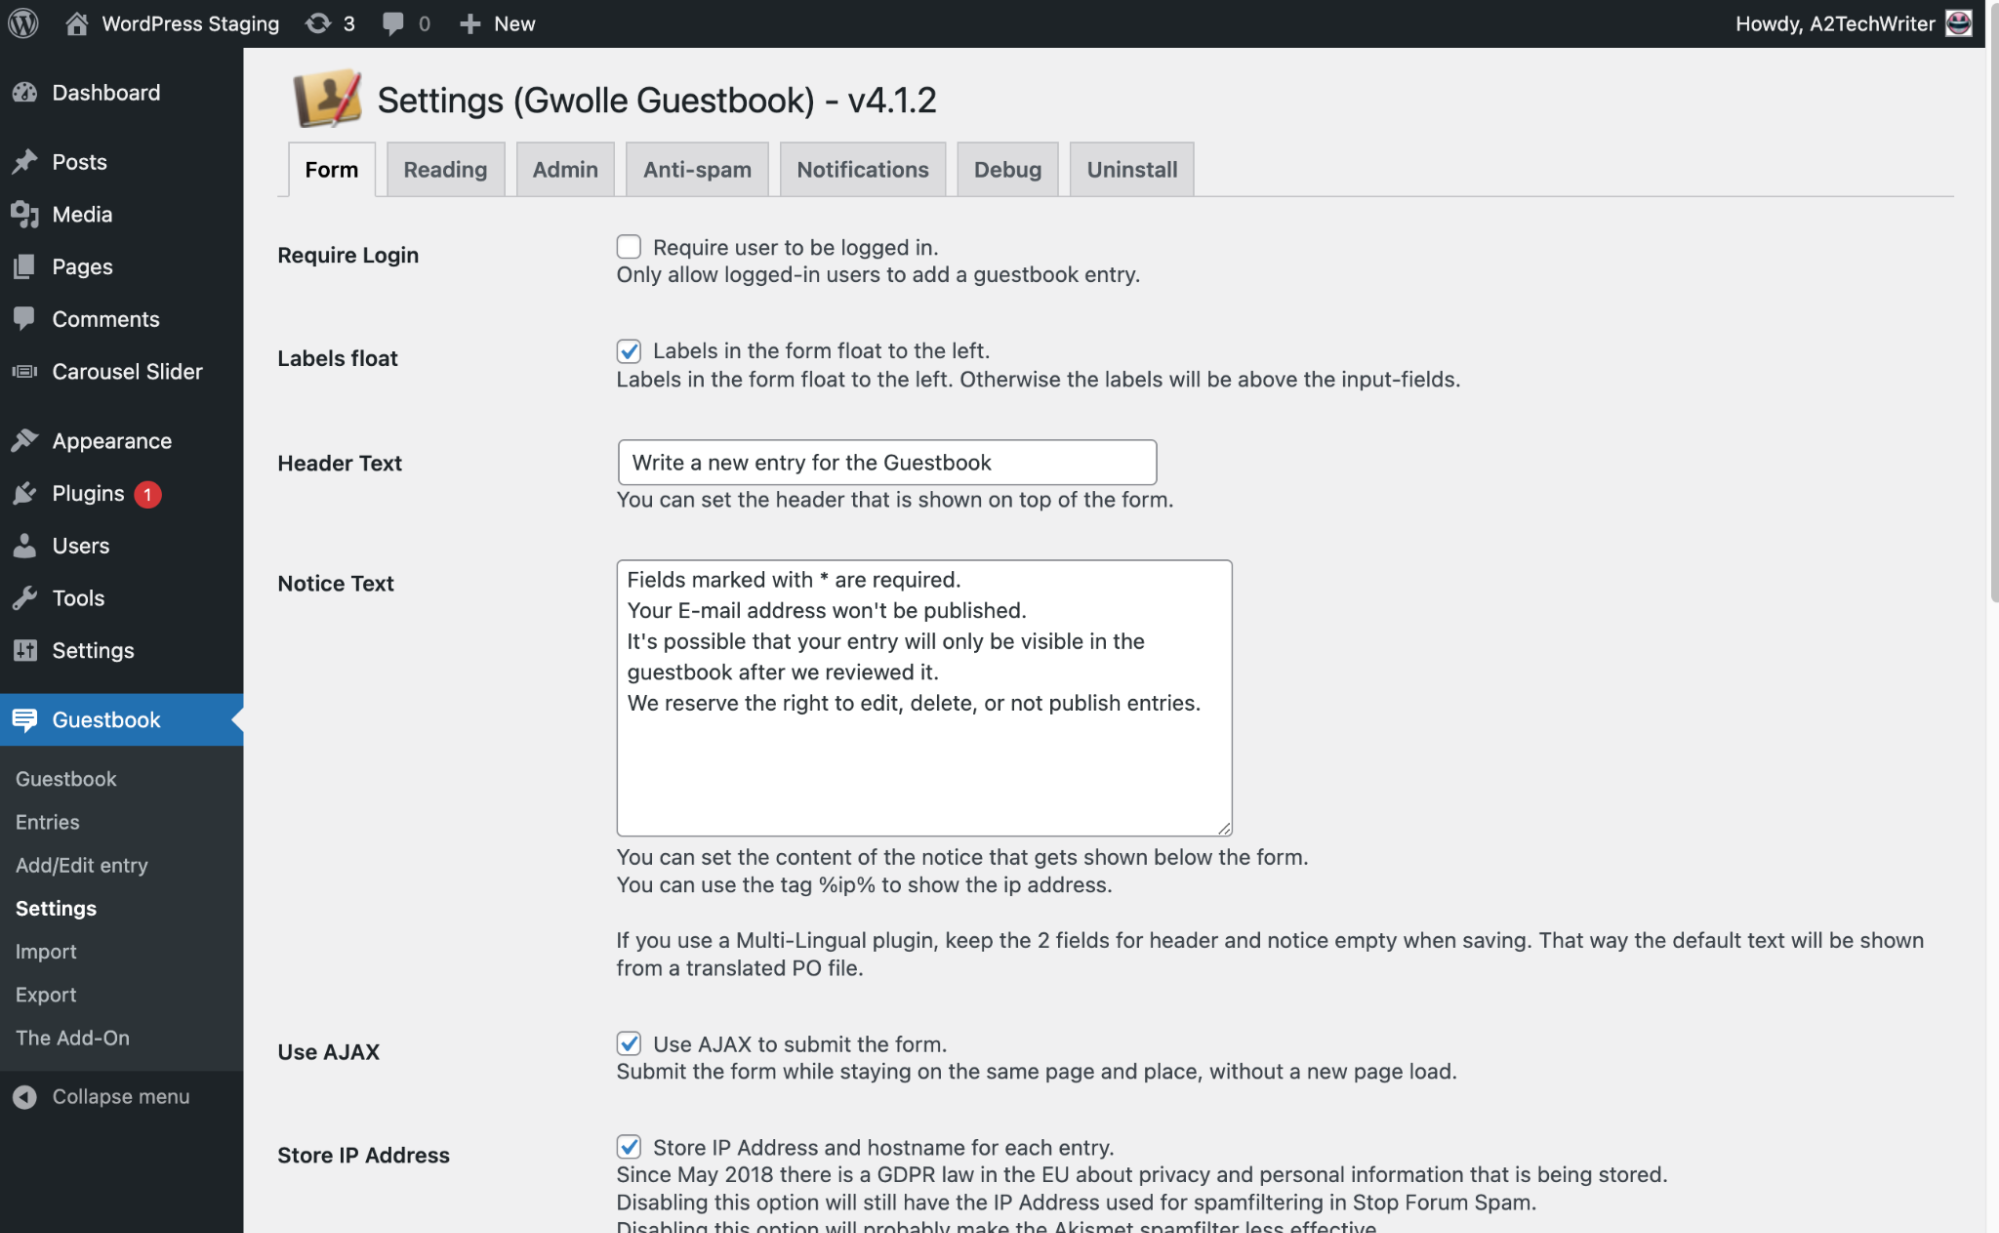
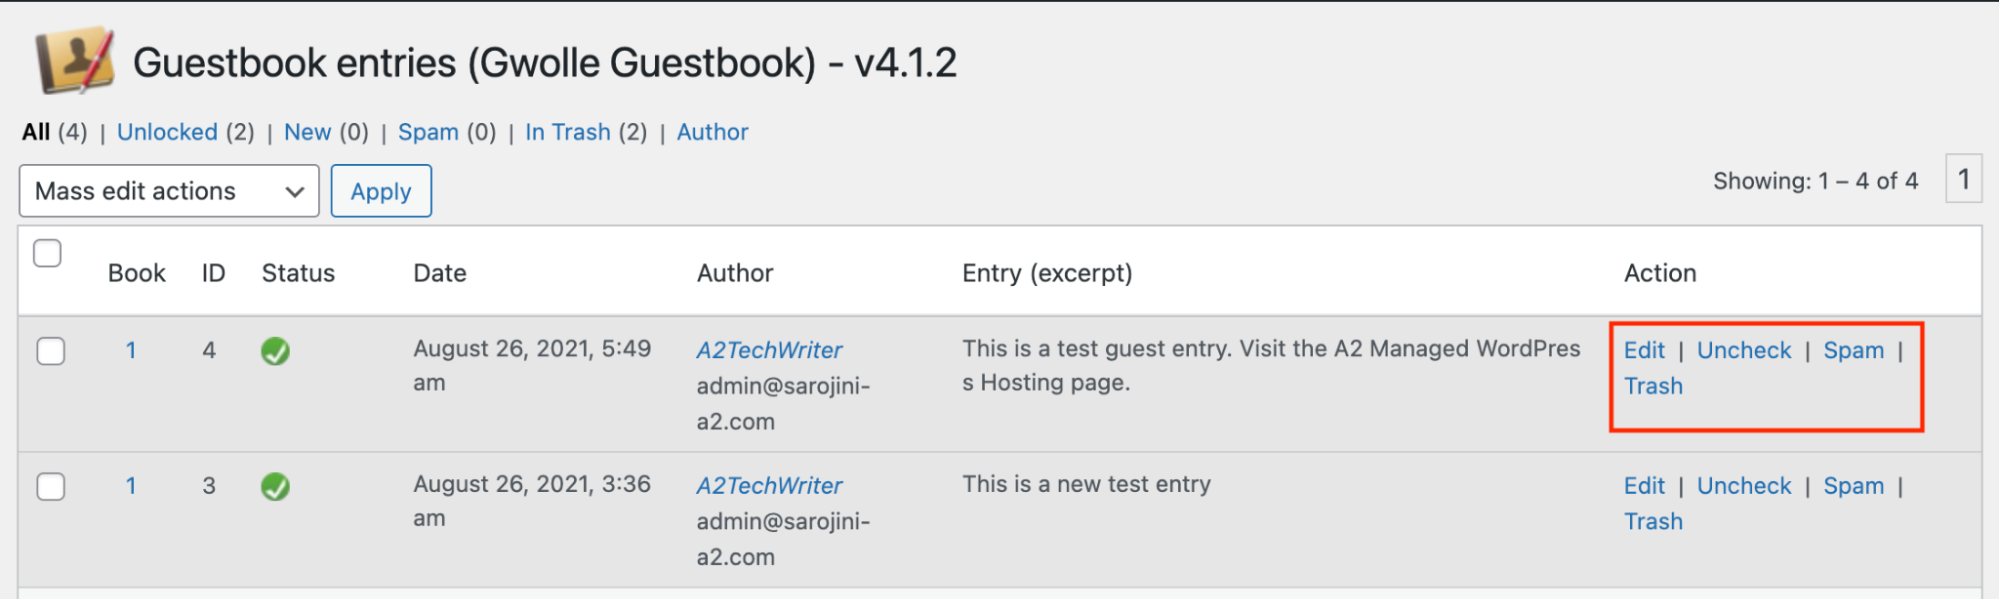
To edit the guest book entries, click on Guestbook, and then click on Entries:
Use the Action options to edit, uncheck, spam or delete the entry:
Article Details
- Product: All accounts
- Level: Beginner
Grow Your Web Business
Subscribe to receive weekly cutting edge tips, strategies, and news you need to grow your web business.
No charge. Unsubscribe anytime.
Did you find this article helpful? Then you'll love our support. Experience the A2 Hosting difference today and get a pre-secured, pre-optimized website. Check out our web hosting plans today.