How to enable automatic updates for WordPress plugins
This article describes how to enable automatic updates for WordPress plugins. Automatic updates ensure that plugins receive the latest fixes and improvements. In addition to improving site functionality, automatic updates also help to keep a site more secure.
To enable automatic updates for WordPress plugins, follow these steps:
- Log in to WordPress as the administrator.
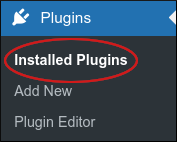
- On the Dashboard in the left sidebar, click Plugins, and then click Installed Plugins:
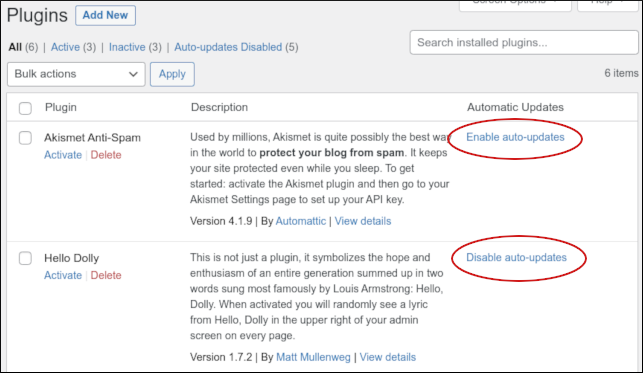
- On the Plugins page, locate the plugin or plugins for which you want to enable automatic updates.
In the Automatic Updates column, click Enable auto-updates. To disable automatic updates for a plugin at any time, click Disable auto-updates:
Article Details
- Product: All accounts
Grow Your Web Business
Subscribe to receive weekly cutting edge tips, strategies, and news you need to grow your web business.
No charge. Unsubscribe anytime.
Did you find this article helpful? Then you'll love our support. Experience the A2 Hosting difference today and get a pre-secured, pre-optimized website. Check out our web hosting plans today.