How to create dynamic forms in WordPress
Forms on a website are an excellent way to collect information and interact with visitors about the services or products available on the website. The Ninja Forms plugin makes it simple to create dynamic forms for your WordPress site. This article explains how to use the Ninja Forms plugin to create and publish dynamic forms in WordPress.
Dynamic Forms in WordPress
To add a new dynamic form easily in your site, follow these steps:
- Log in to WordPress as the administrator.
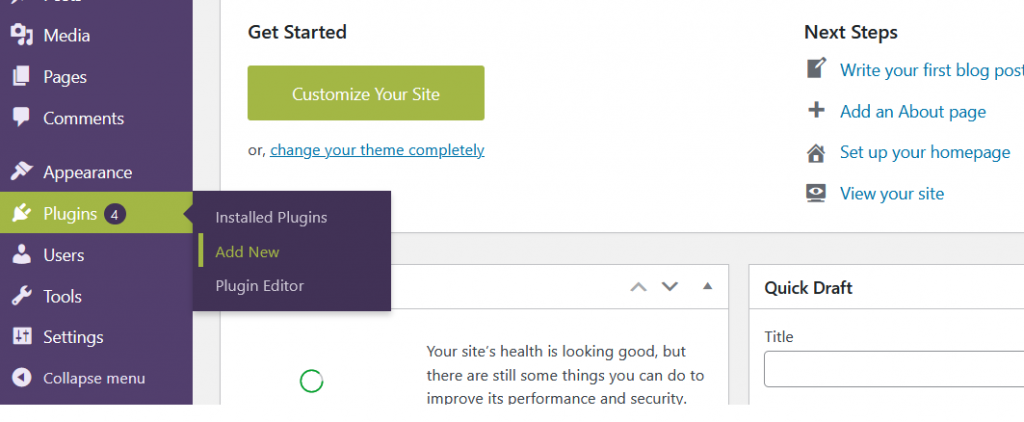
- On the Dashboard in the left sidebar, click Plugins, and then click Add New:
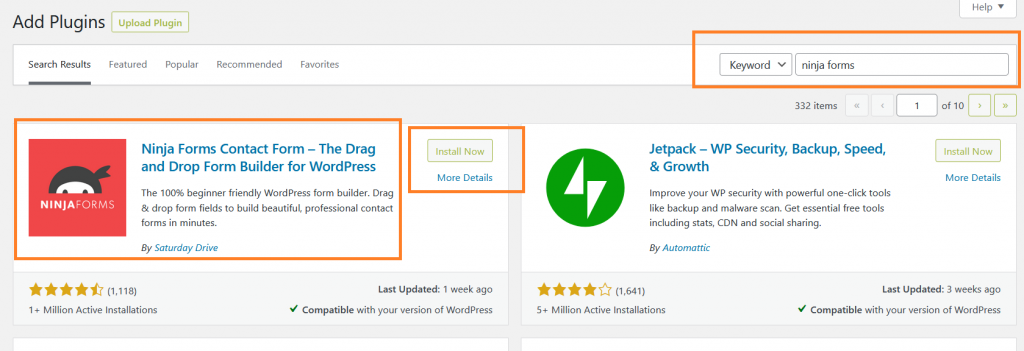
Search for “Ninja Forms” and click Install Now. Then click Activate the plugin:&
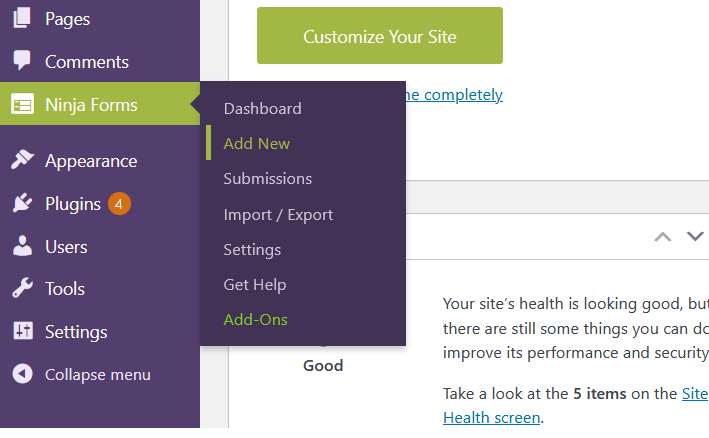
On the Dashboard, in the left sidebar click Ninja Forms, and then click Add New:
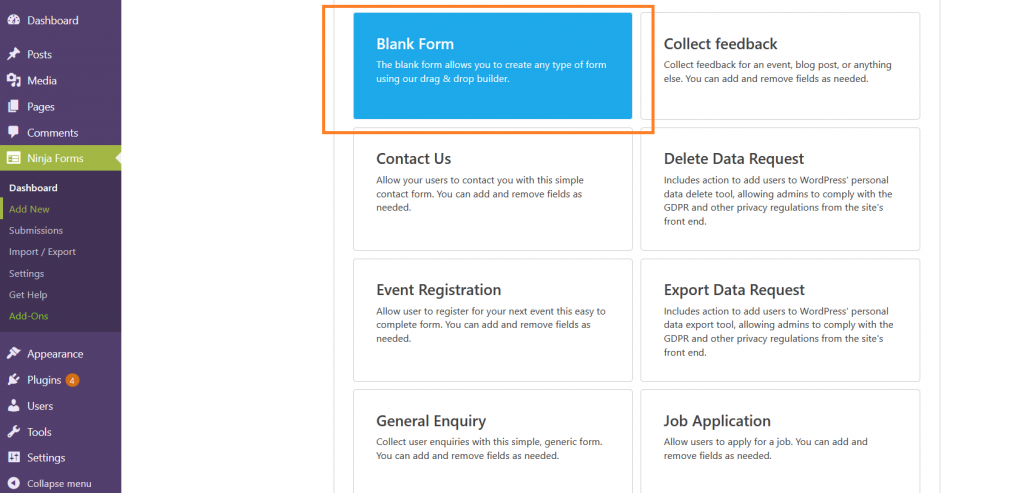
Ninja Forms has options for preconfigured forms. Select Blank Form to create a blank form:
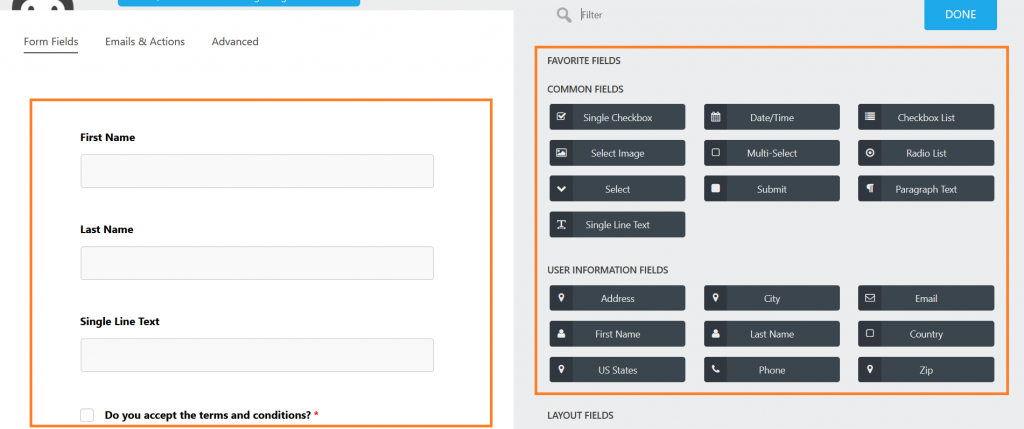
Select the required fields from the list, and add it to the form:
Click on Publish, add the form title and then click on Publish again:


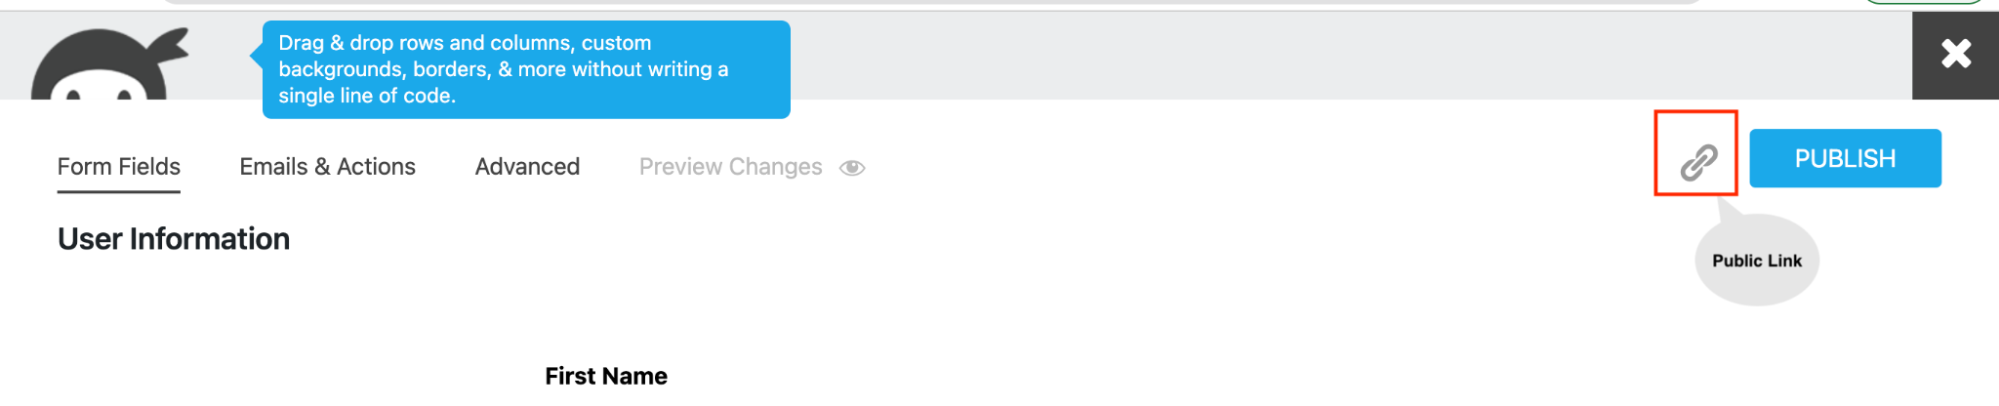
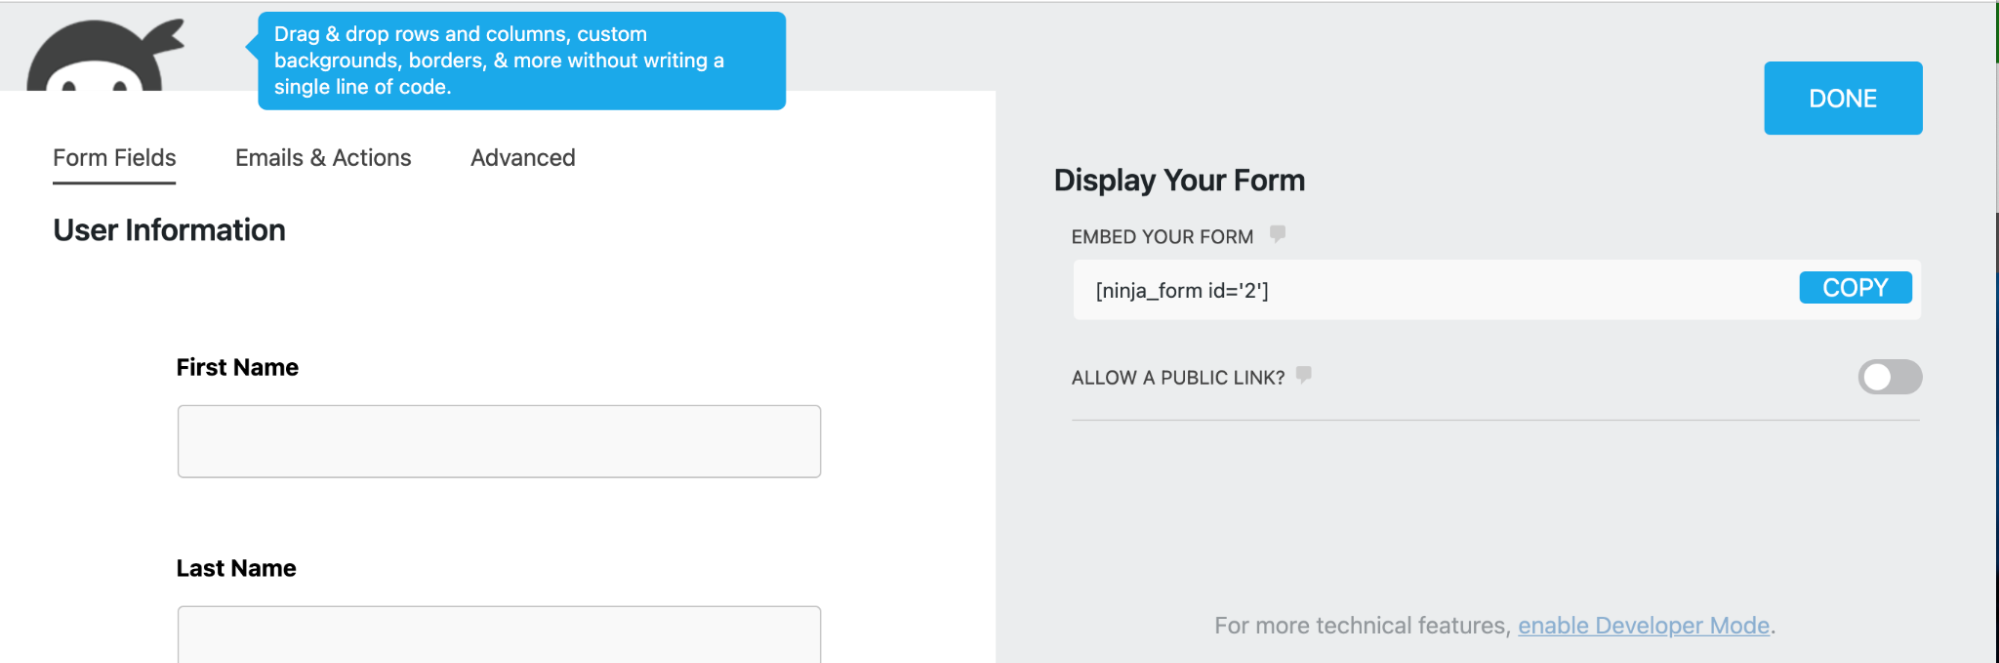
Click on the Public link on the form, and then click Copy to copy the form shortcode:
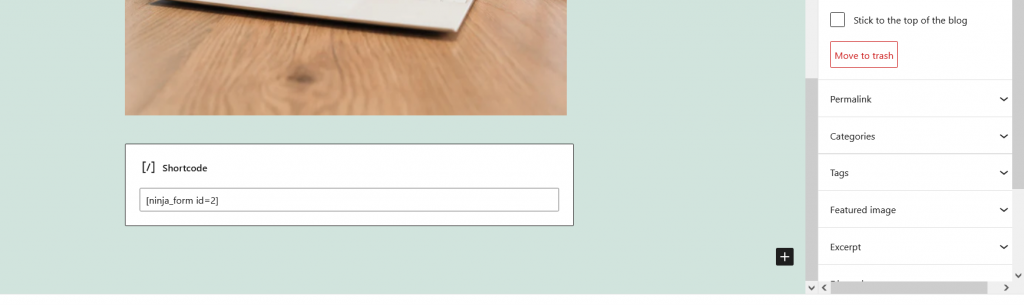
Paste the shortcode on a post or page:
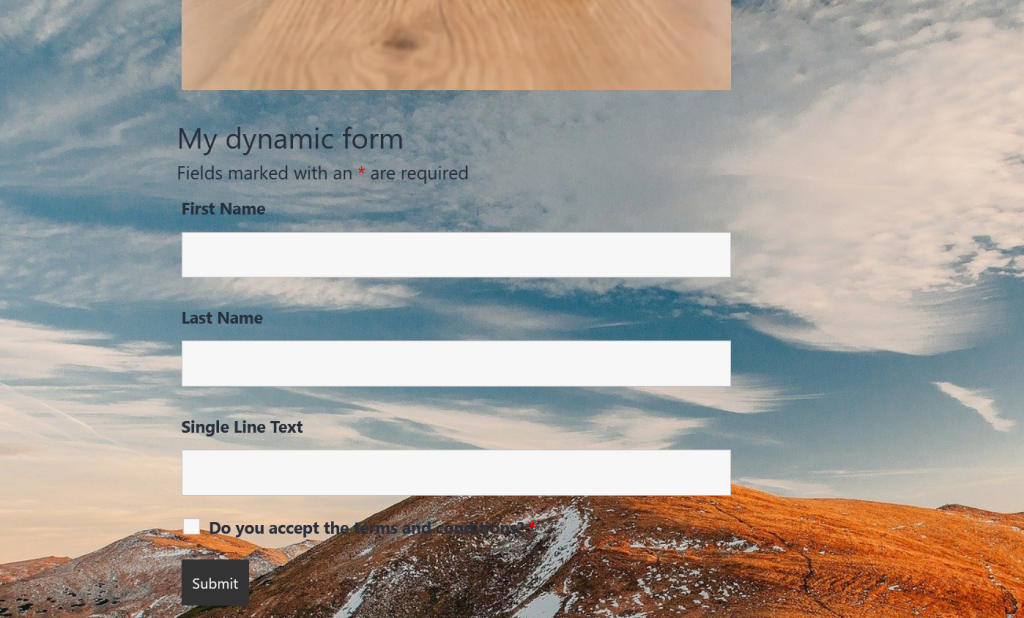
Click Publish to view the page with the new form:
More Information
For more information about forms, please visit: https://www.a2hosting.com/blog/5-top-contact-form-plugins-wordpress/
Article Details
- Product: All accounts
- Level: Beginner
Grow Your Web Business
Subscribe to receive weekly cutting edge tips, strategies, and news you need to grow your web business.
No charge. Unsubscribe anytime.
Did you find this article helpful? Then you'll love our support. Experience the A2 Hosting difference today and get a pre-secured, pre-optimized website. Check out our web hosting plans today.